Trail Camera Placement: Funnels, Food, and Beyond
There’s nothing quite like slipping a fresh SD card into your reader and seeing a mature buck staring back at you, sometimes like he’s silently judging your scouting skills. “That’s the best angle you could find?” But let’s be honest: trail cameras don’t do all the work. Placement is everything. Hang it wrong, and you’ll scroll through thousands of photos of squirrels, raccoons, and the occasional confused coyote while the big bucks stroll past like they own the place.
Follow the Funnels
Deer are creatures of habit and love efficiency. Natural funnels, creek crossings, saddles between ridges, narrow timber strips, or fence gaps act like their highways. Point your camera slightly off the trail to capture full-body profiles instead of a blurry nose shot. Funnels are especially effective during the rut when bucks are cruising between doe groups. Early season?Pair them with nearby food or water to catch consistent movement before hunting pressure changes the game.
Edge of the Feast: Food Plots & Crops
Food is the ultimate magnet. From summer soybeans to late-season corn or acorn-laden ridges, deer feed predictably,but the key is where they enter and exit. Mount your camera a few yards inside the timber, 6–8 feet off the ground, angled down. This setup captures bucks staging before entering open areas and gives a full view of daylight activity. Bonus: you’ll also see doe family groups, fawns, turkeys, and even predators, every sighting adds another piece to your season-long puzzle.
Water & Mineral Hotspots
Never underestimate the pull of water, especially during summer heat or early-season hunts. Creeks, ponds, and seep springs, combined with mineral sites, can be trail camera goldmines. Position your camera downwind and avoid disturbing the area, deer notice everything. These photos aren’t just entertaining; they reveal bachelor groups in velvet, antler growth, and timing that pays off later in the season.
Beyond the Obvious
The biggest bucks are smart. They often avoid the most obvious trails, making overlooked spots key:
- Bedding area edges: Fewer photos, but high-value intel on daylight movement.
- Secondary trails: Quiet lanes that parallel main paths, often used by mature bucks.
- Scrape lines: Social hubs of the deer world in October; perfect for spotting dominant bucks.
Do’s & Don’ts
Do:
- Use natural funnels and edge habitat.
- Angle cameras slightly off trails for better shots.
- Mount cameras high to reduce detection.
- Rotate locations regularly.
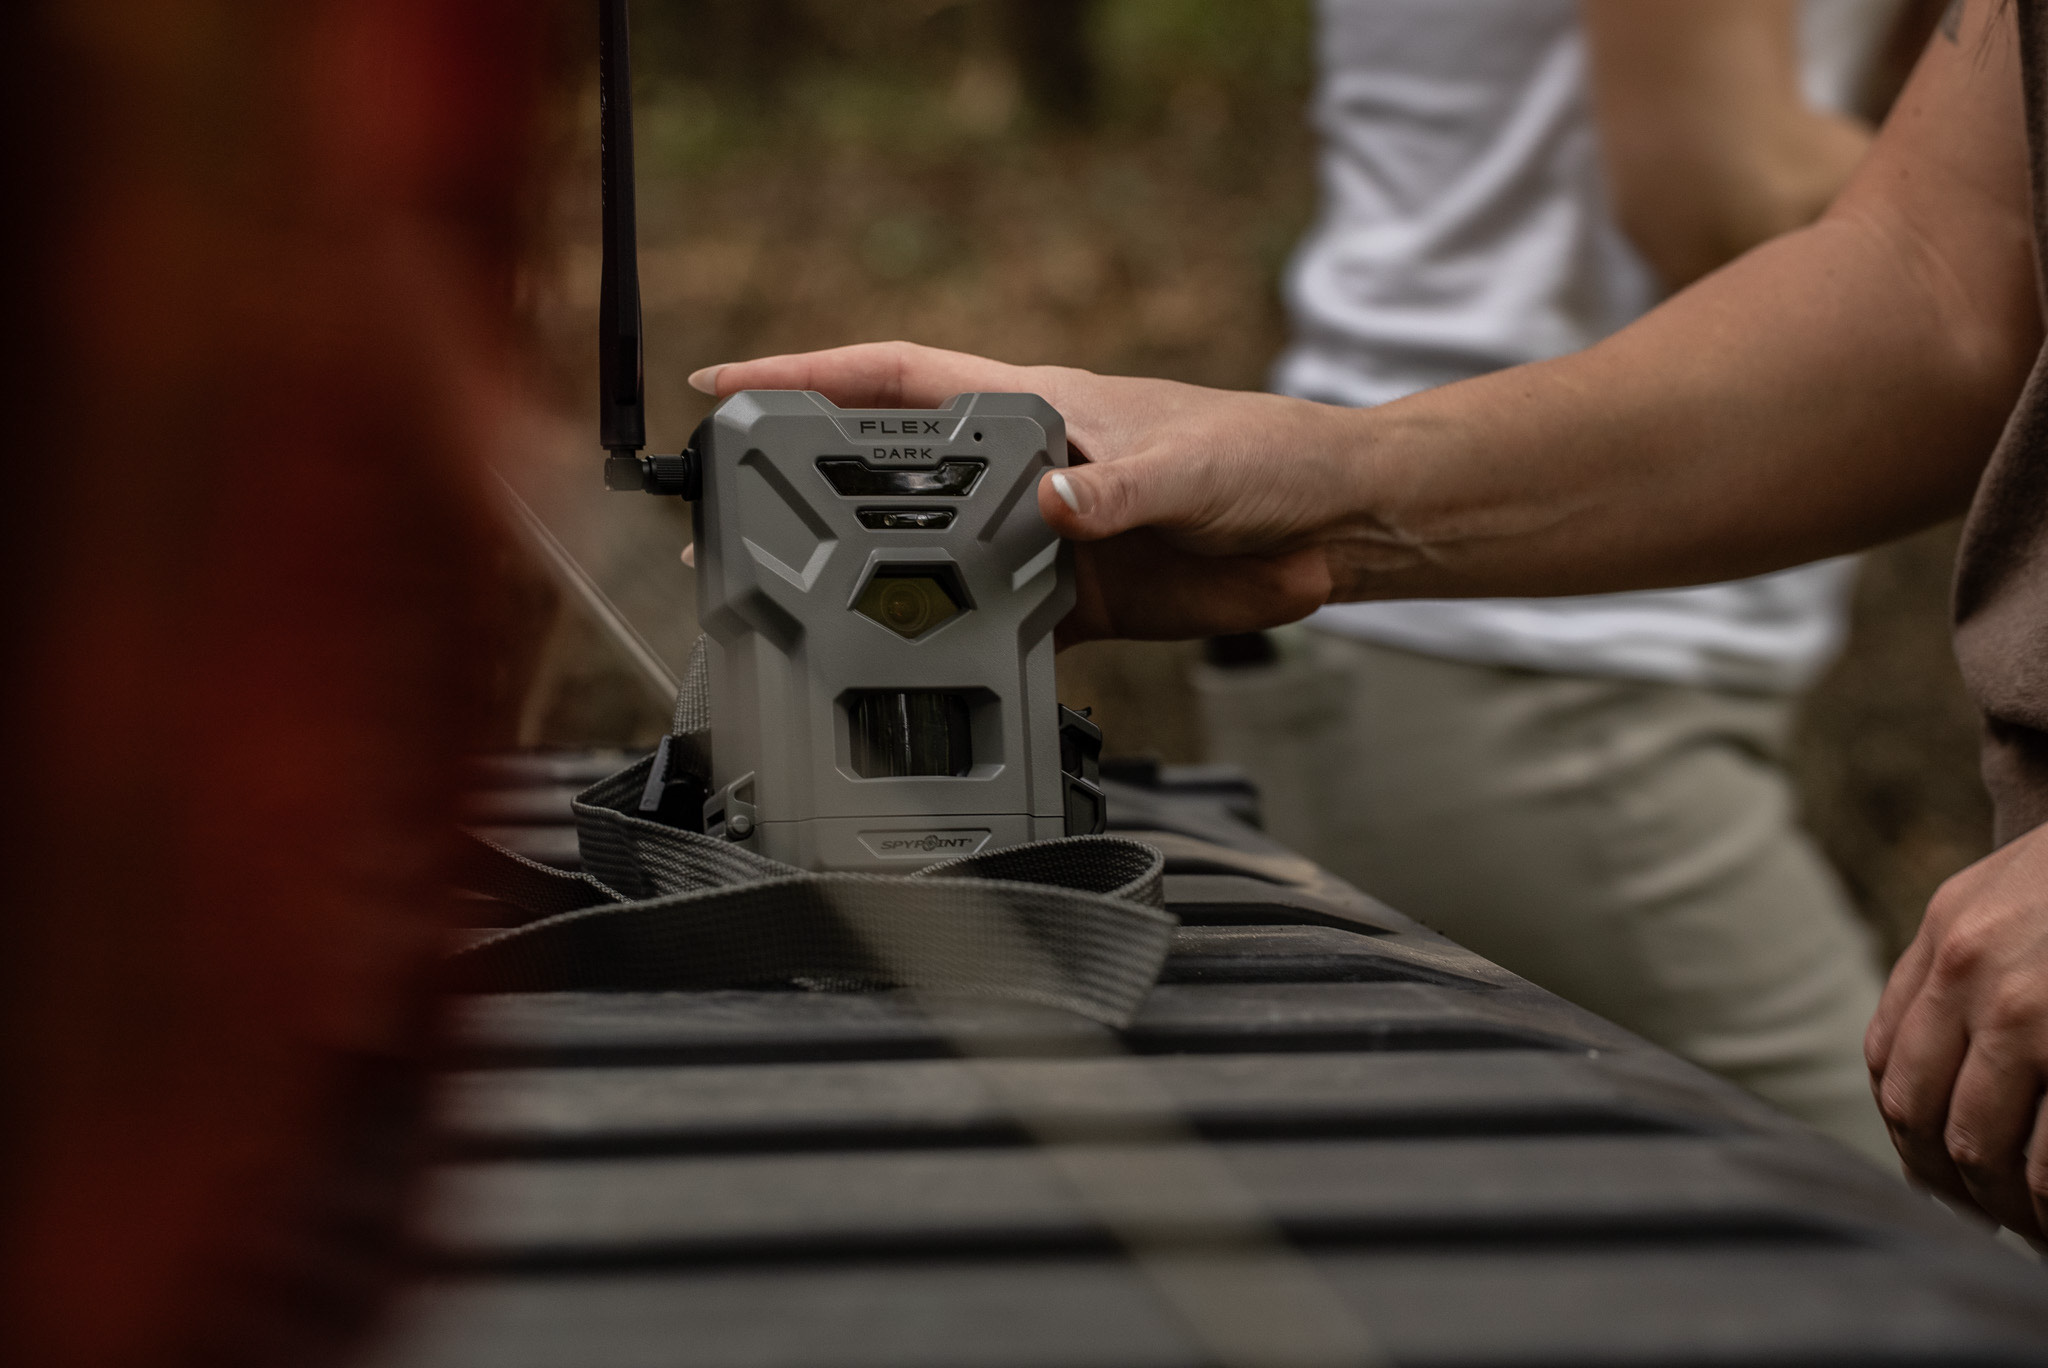
- Consider cellular cameras to limit disturbance.
Don’t:
- Hang cams in wide-open fields where deer feel exposed.
- Check cards too often; human intrusion educates deer.
- Ignore seasonal changes—deer patterns shift constantly.
- Rely solely on major trails—mature bucks often use side routes.
- Forget scent control; treat every camera check like a mini hunt.
The Fun Factor
Trail cameras aren’t just tools, they’re entertainment. From bachelor groups clowning around in summer to a doe giving your lens the stink-eye, these photos remind us hunting is about more than antlers. Reduce visits, minimize scent, and lean on cell cameras if possible. A well-run camera program builds your odds of tagging a mature buck while giving you a front-row seat to the secret life of the woods.
The Takeaway
Trail cameras are more than gadgets,they’re windows into deer behavior. Place them smartly in funnels, on food edges, near water, and in overlooked spots. Every picture tells a story: how deer move, where they travel, and what they prefer. Stack enough of those stories together, andyou’ll have the roadmap to success this fall. Hang wisely, laugh at the raccoon bloopers, marvel at velvet giants, and let your intel guide you to the buck in your sights.


.png)